
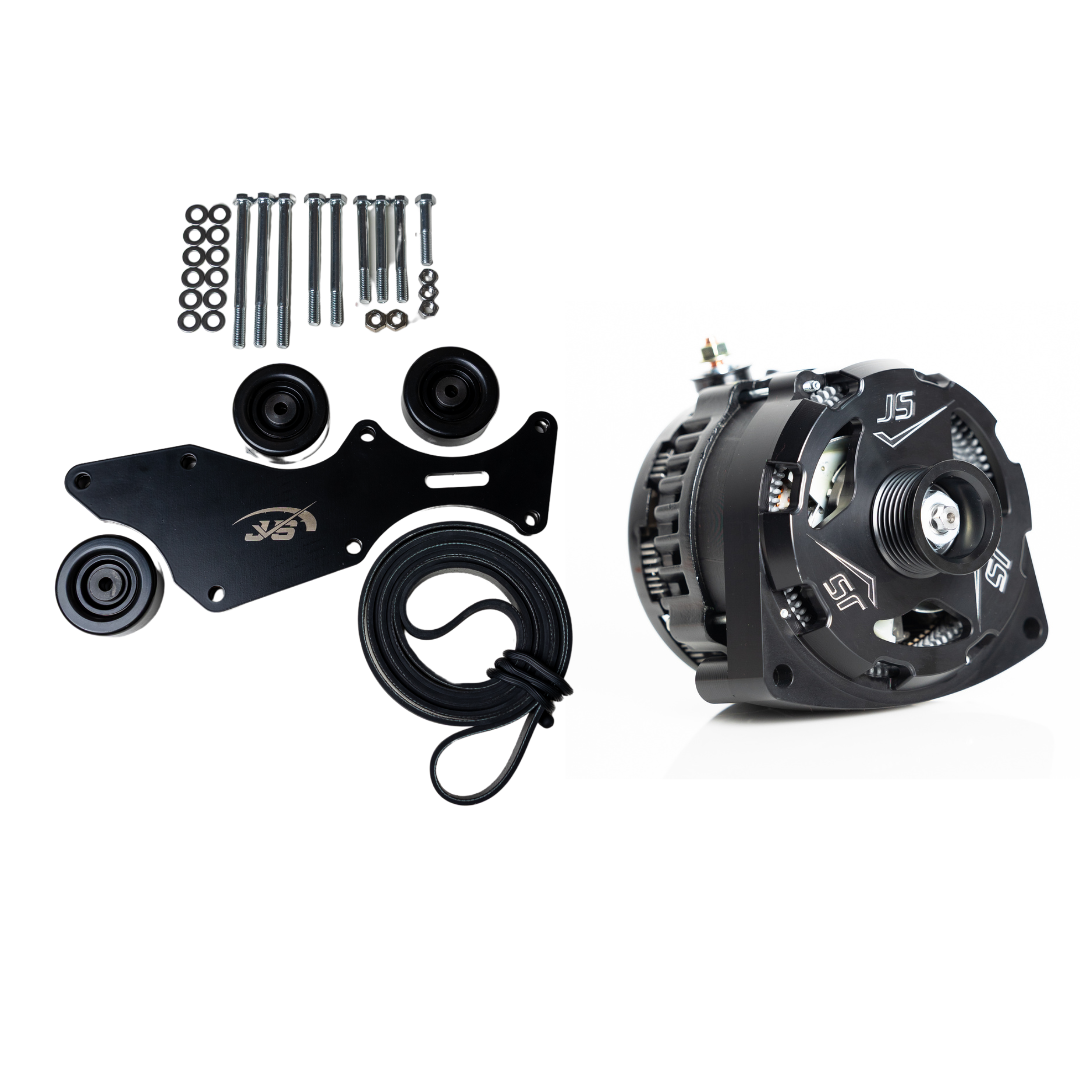
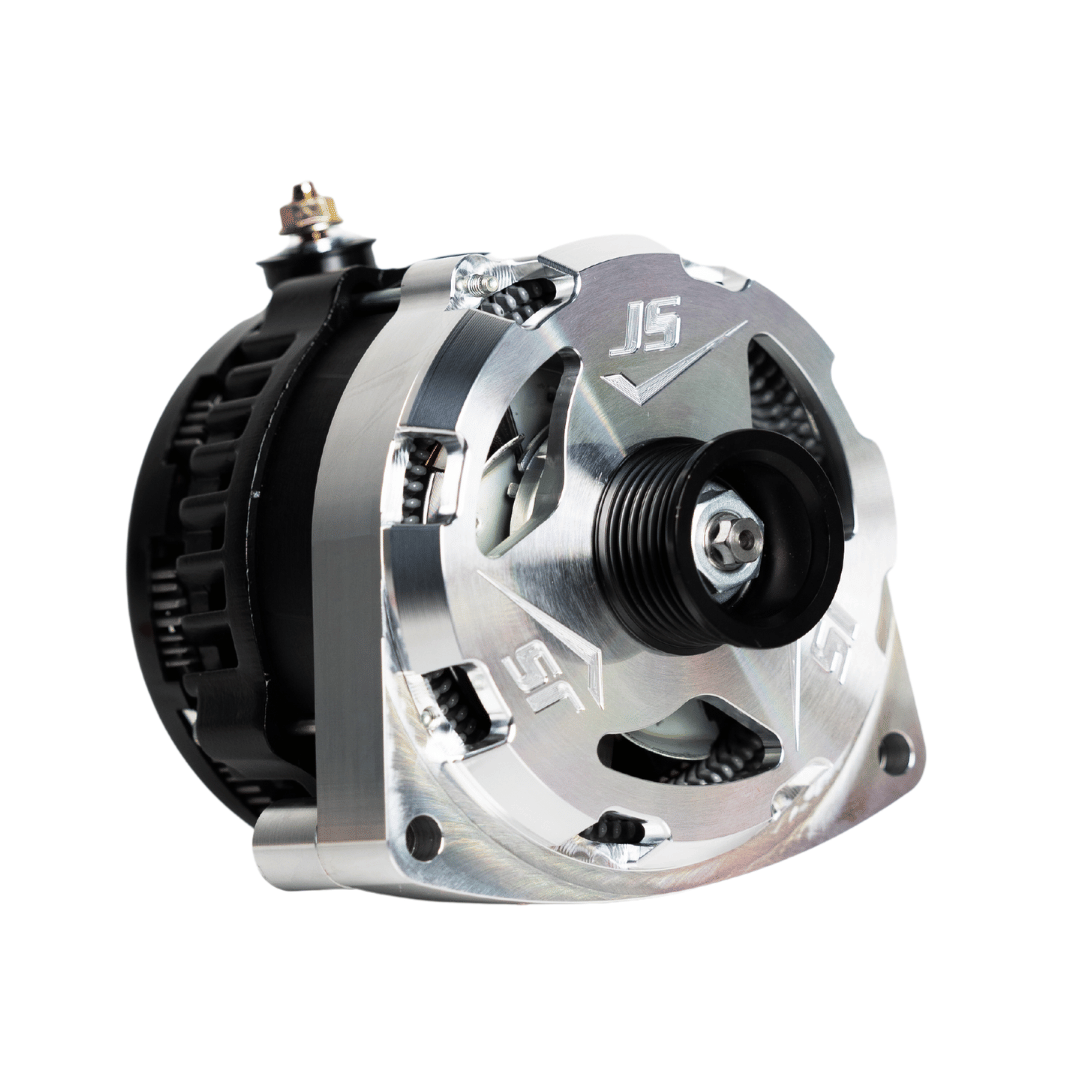
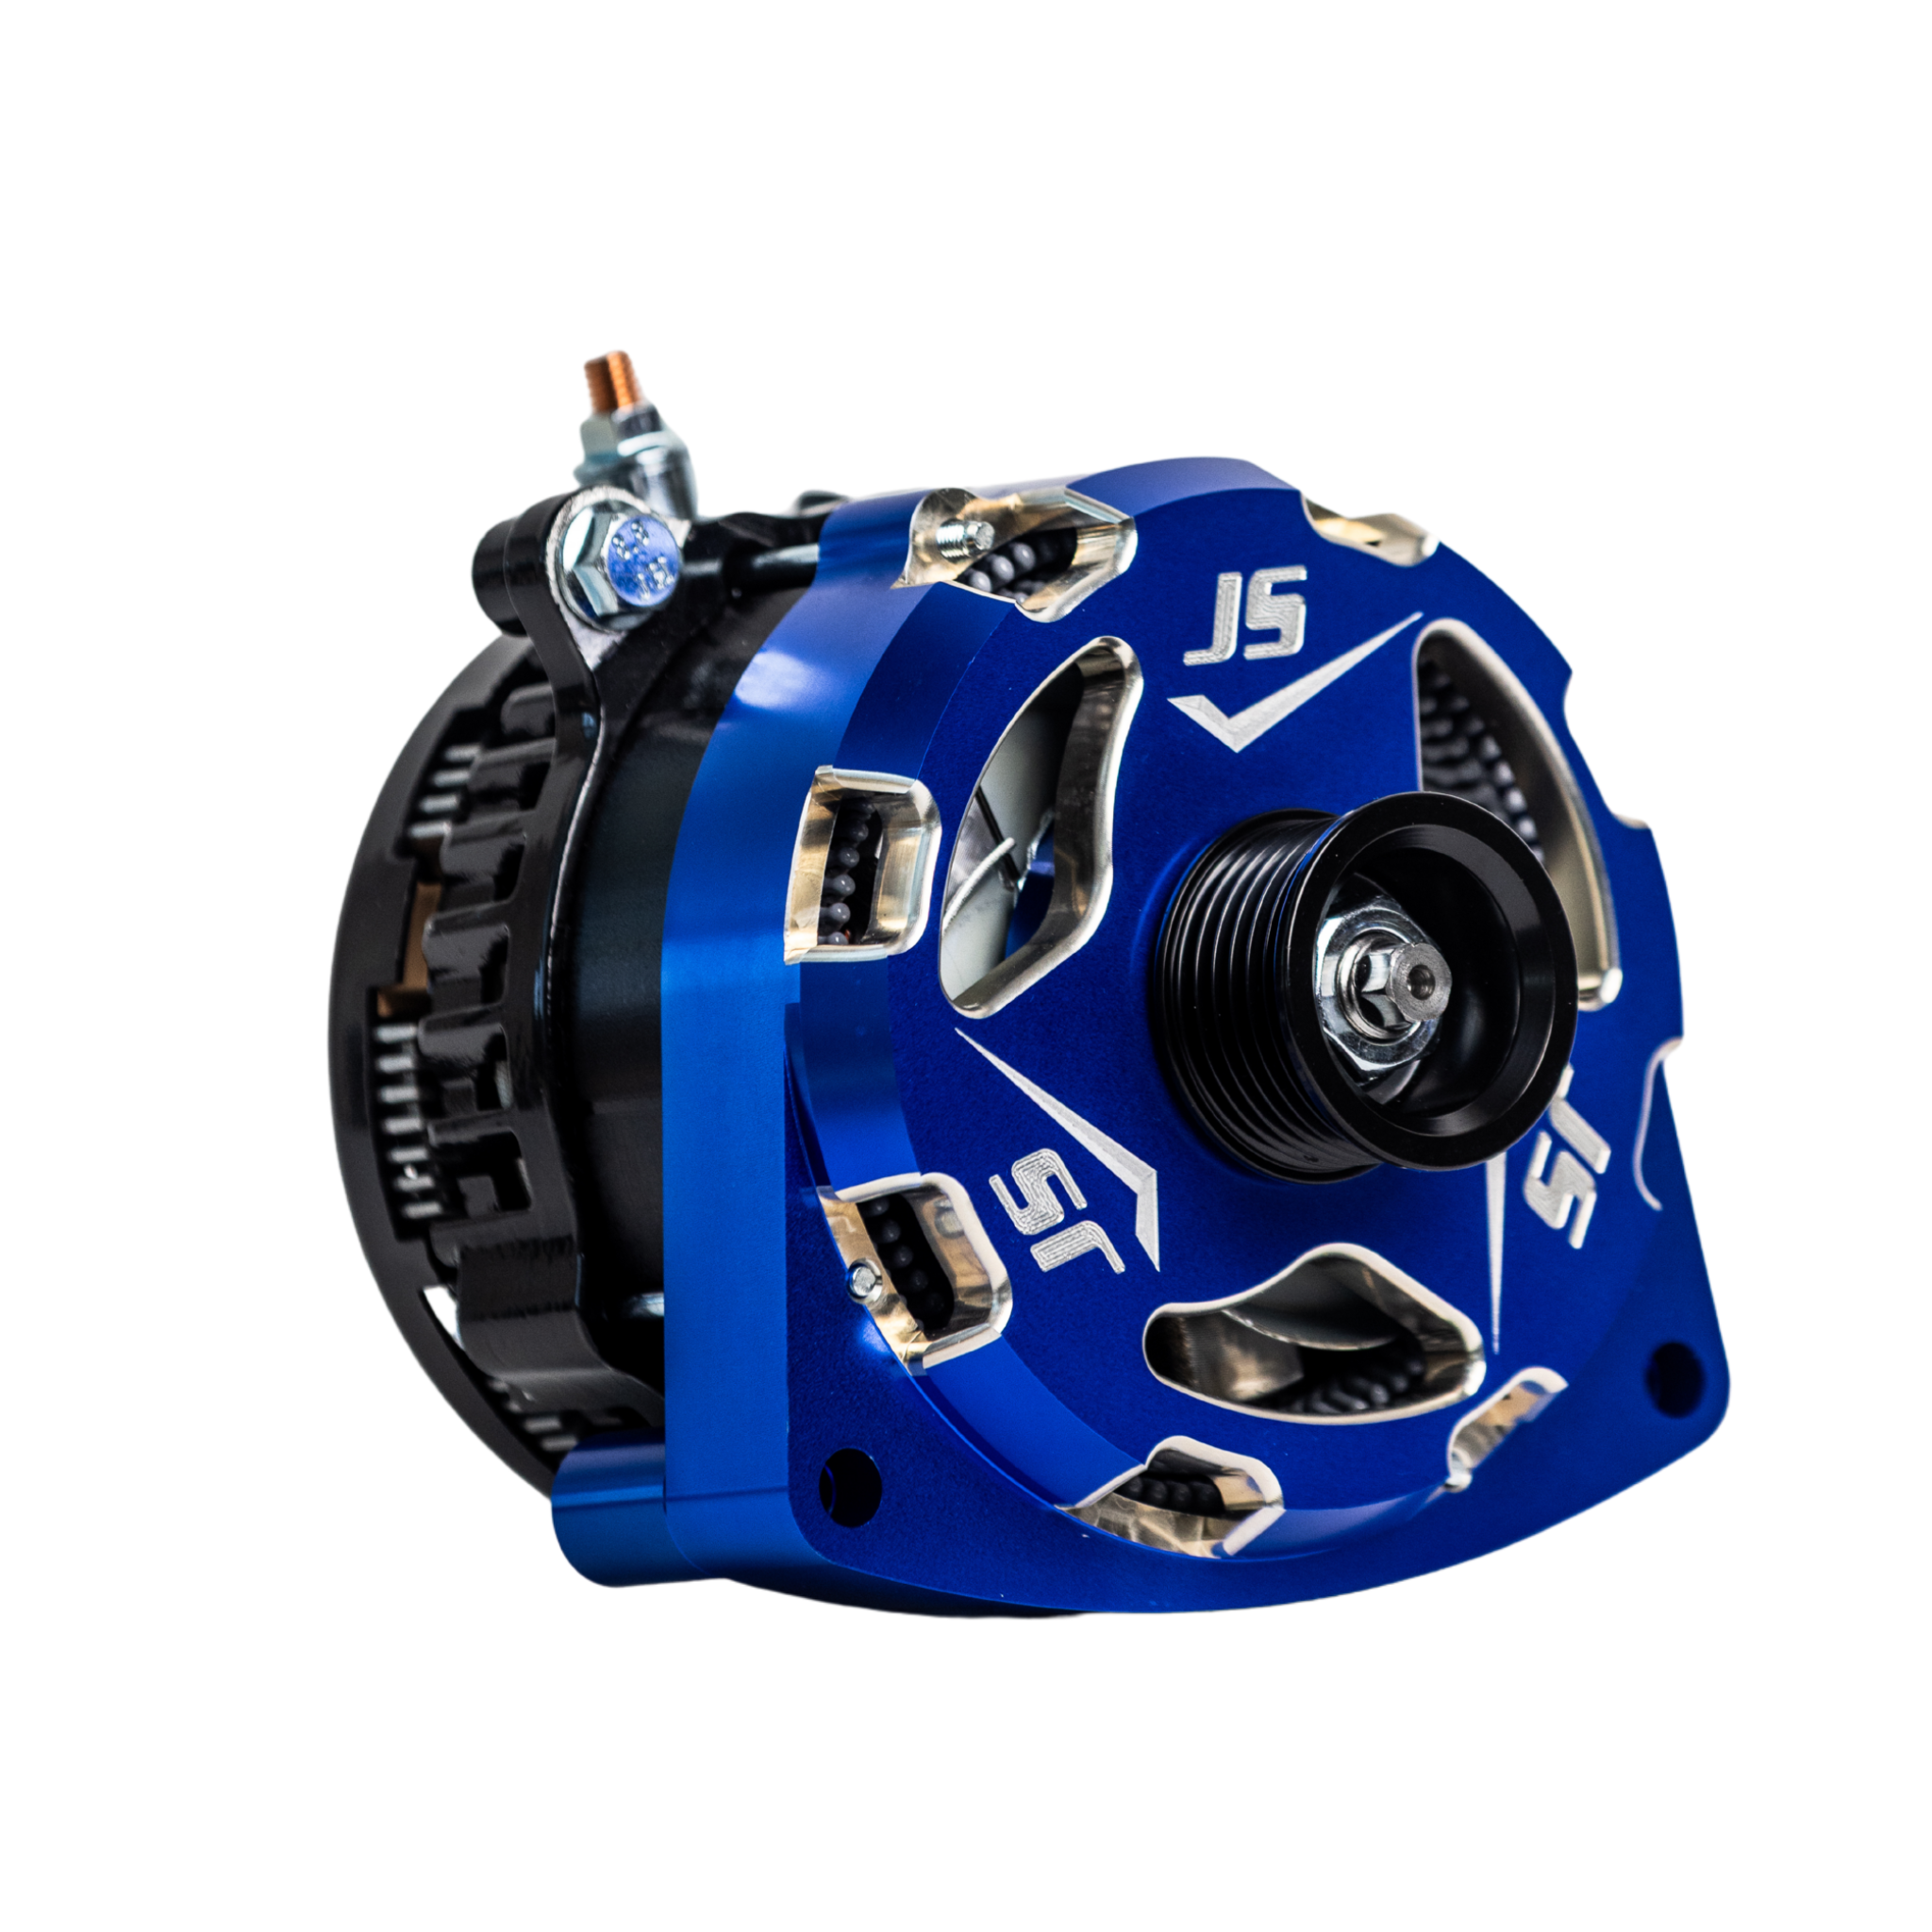
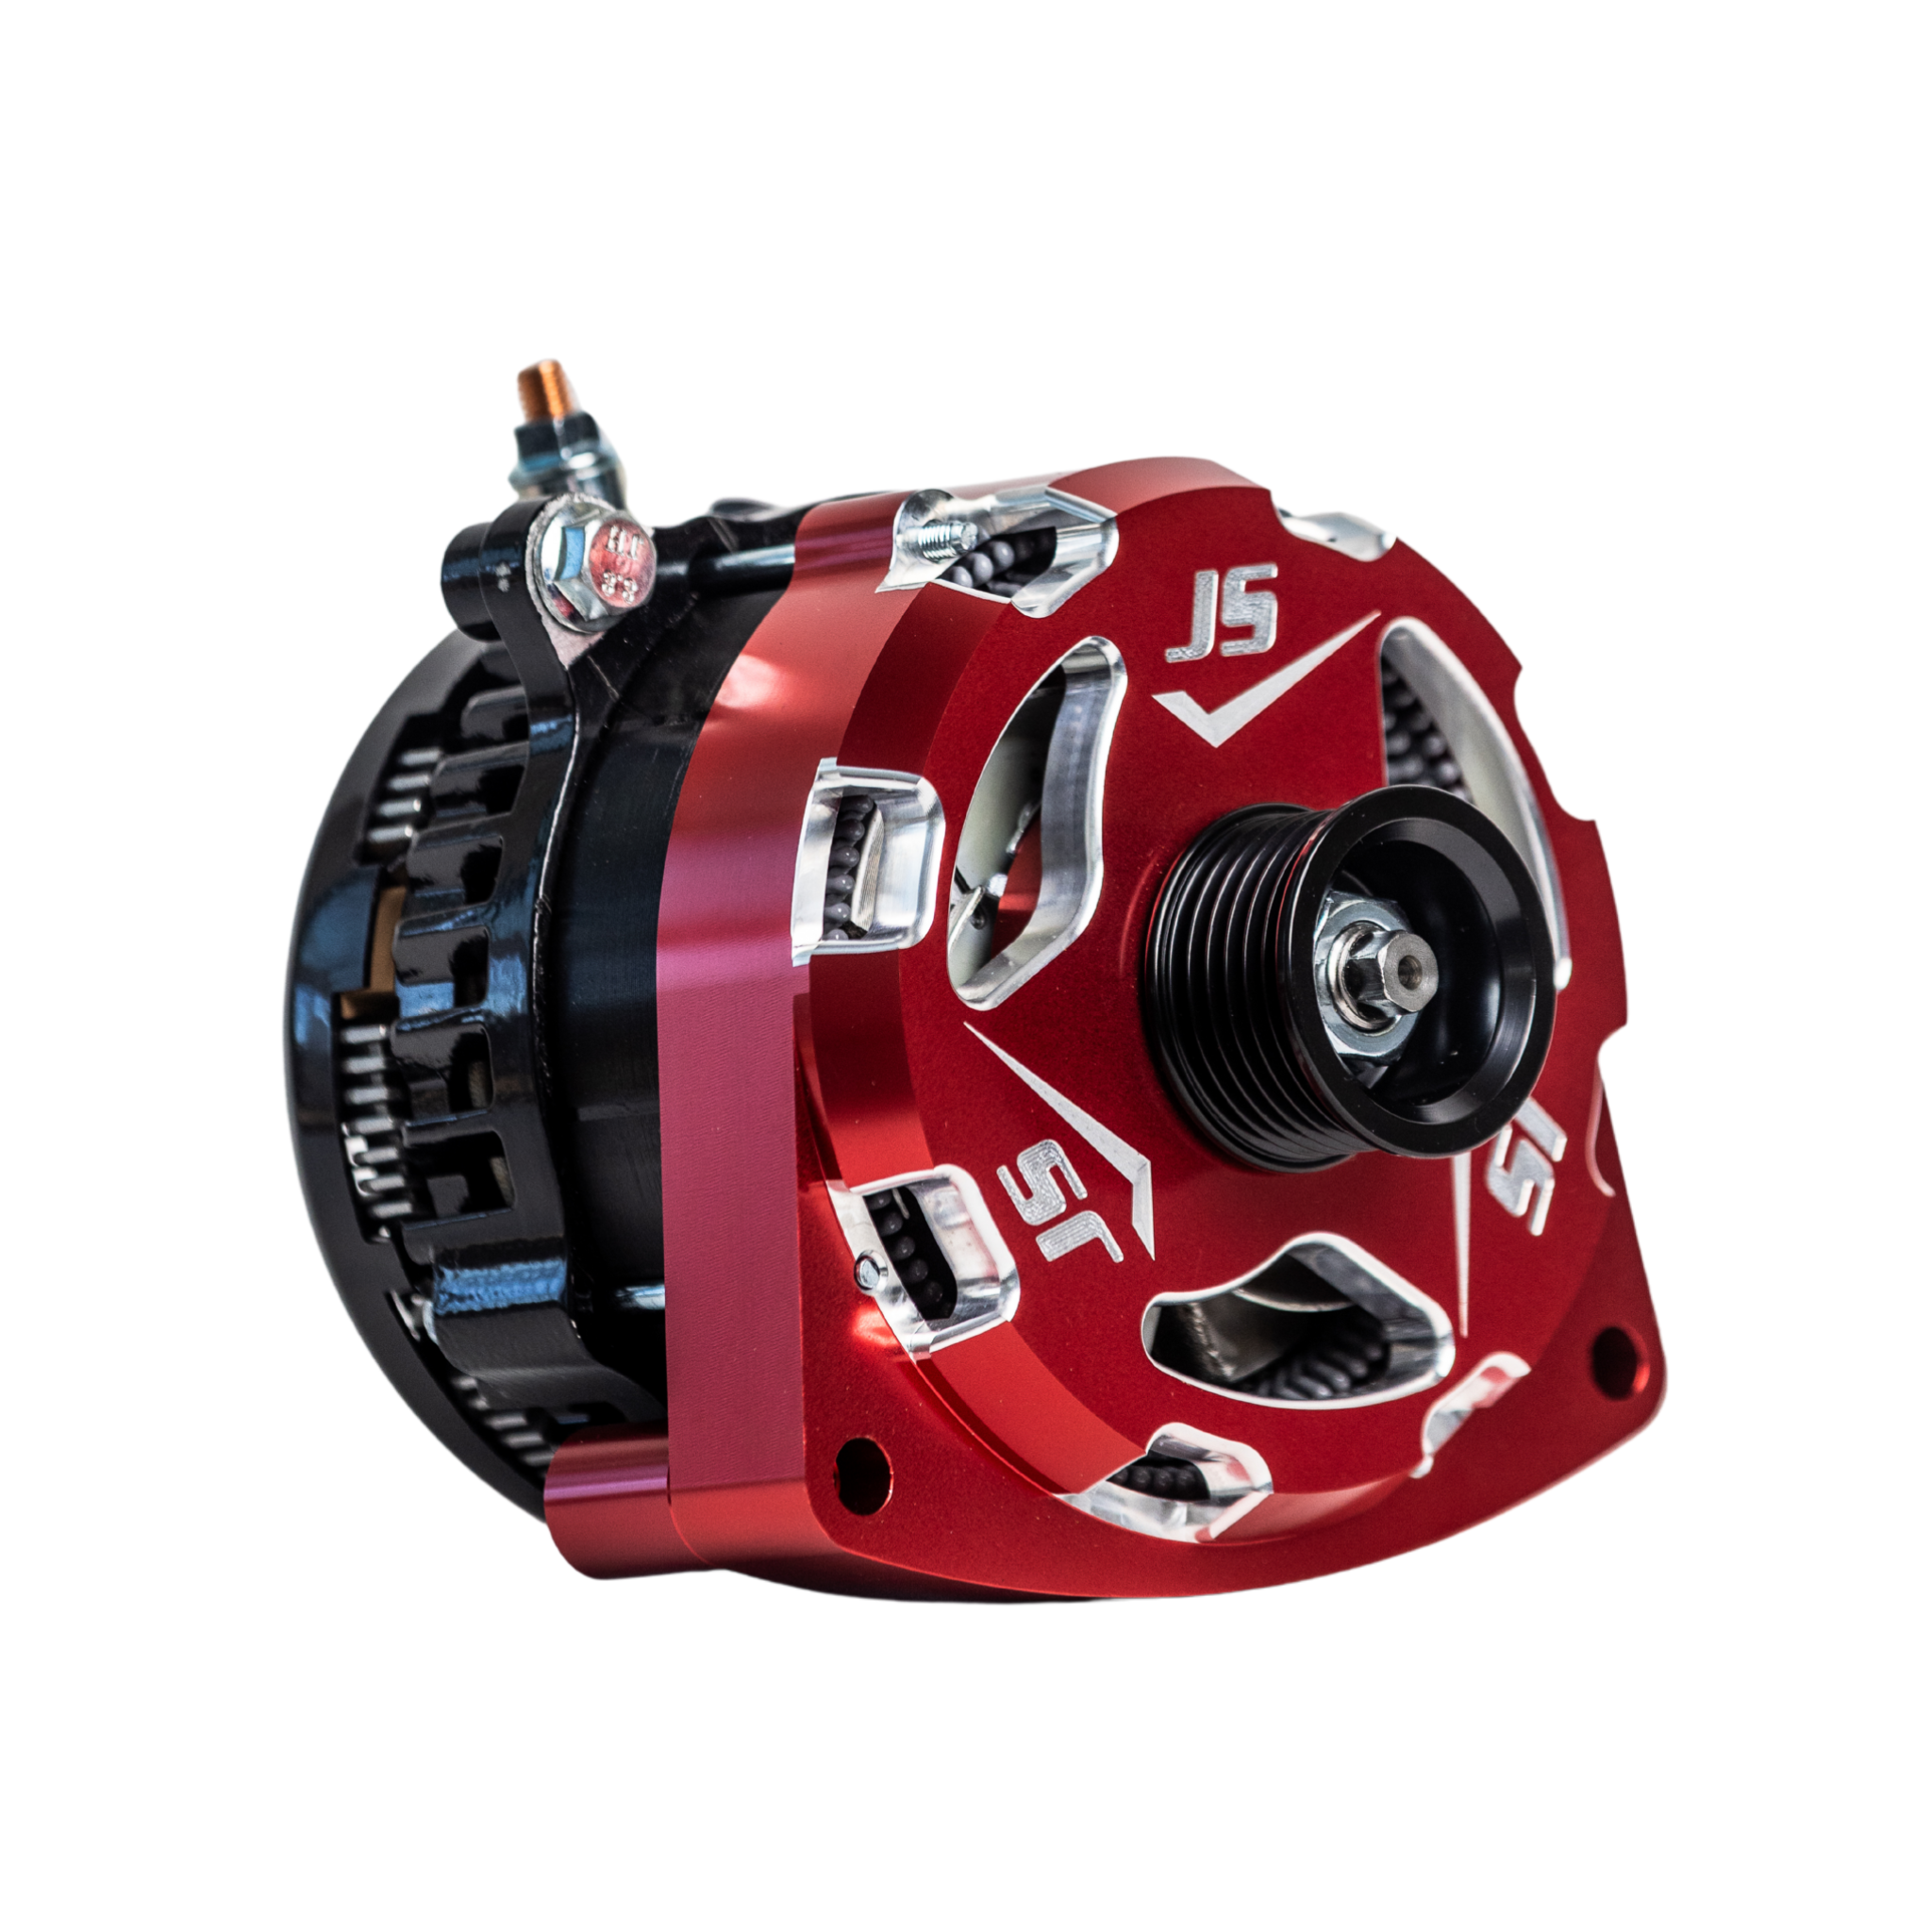
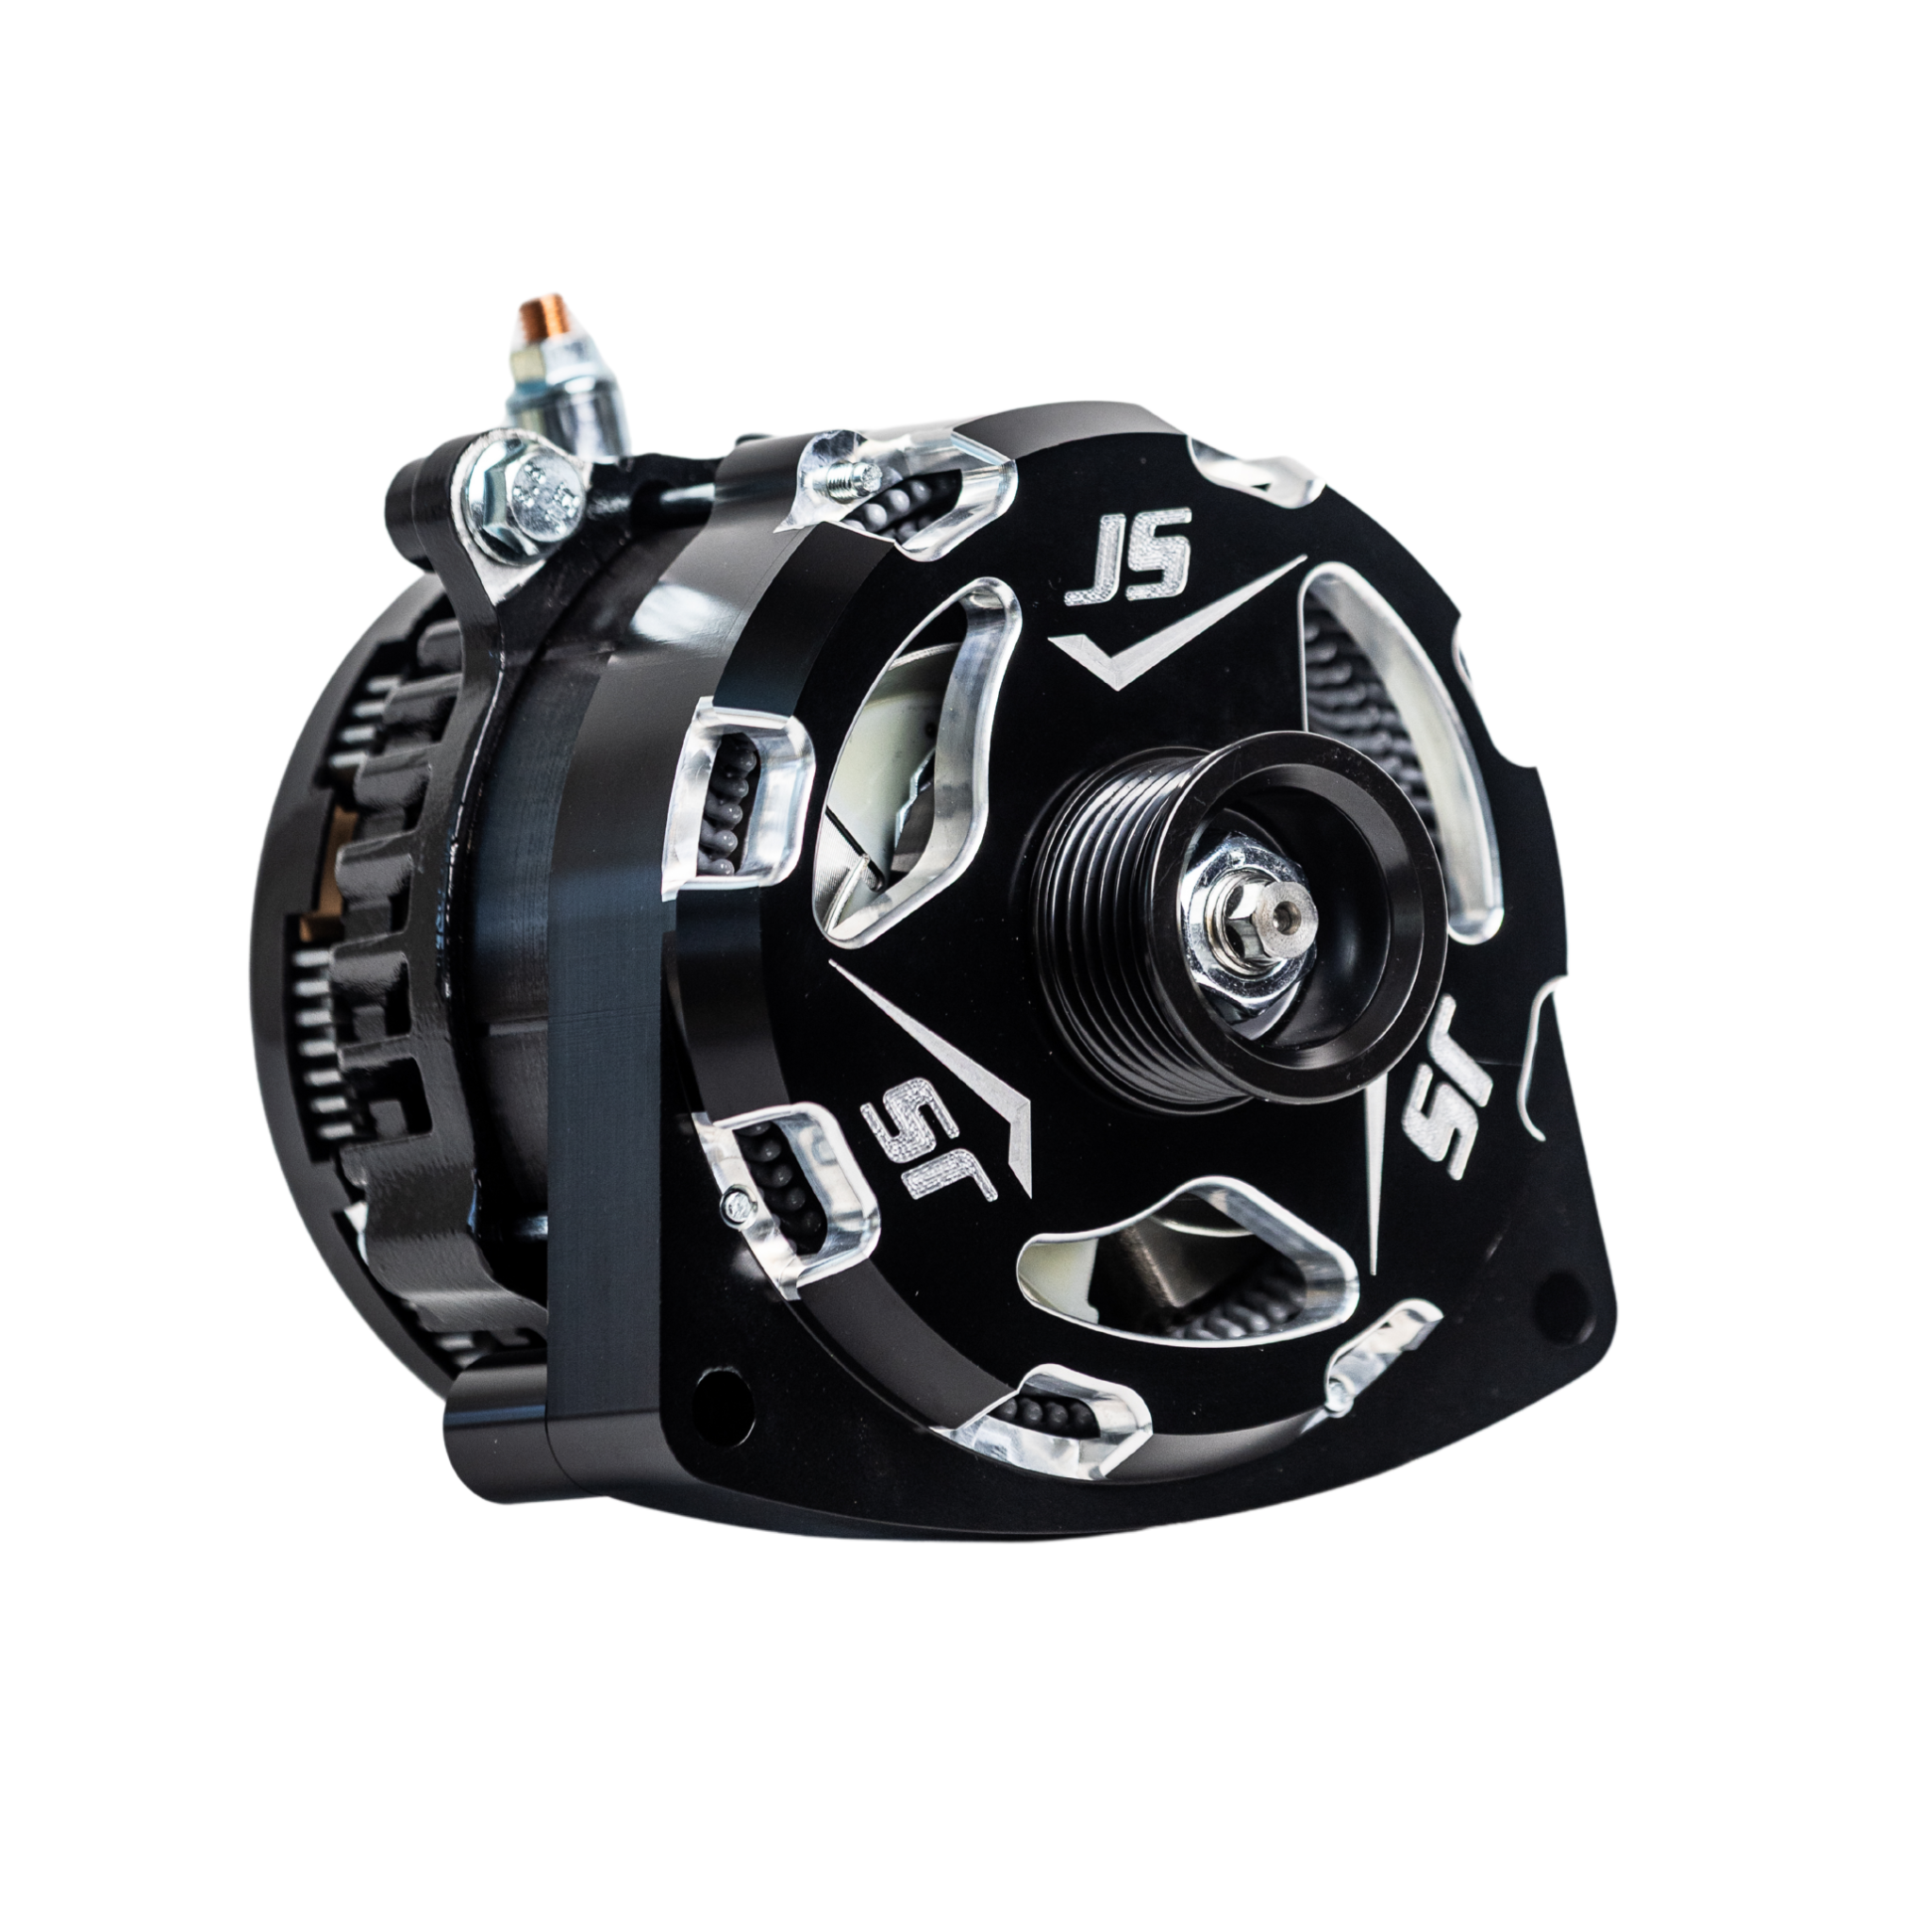
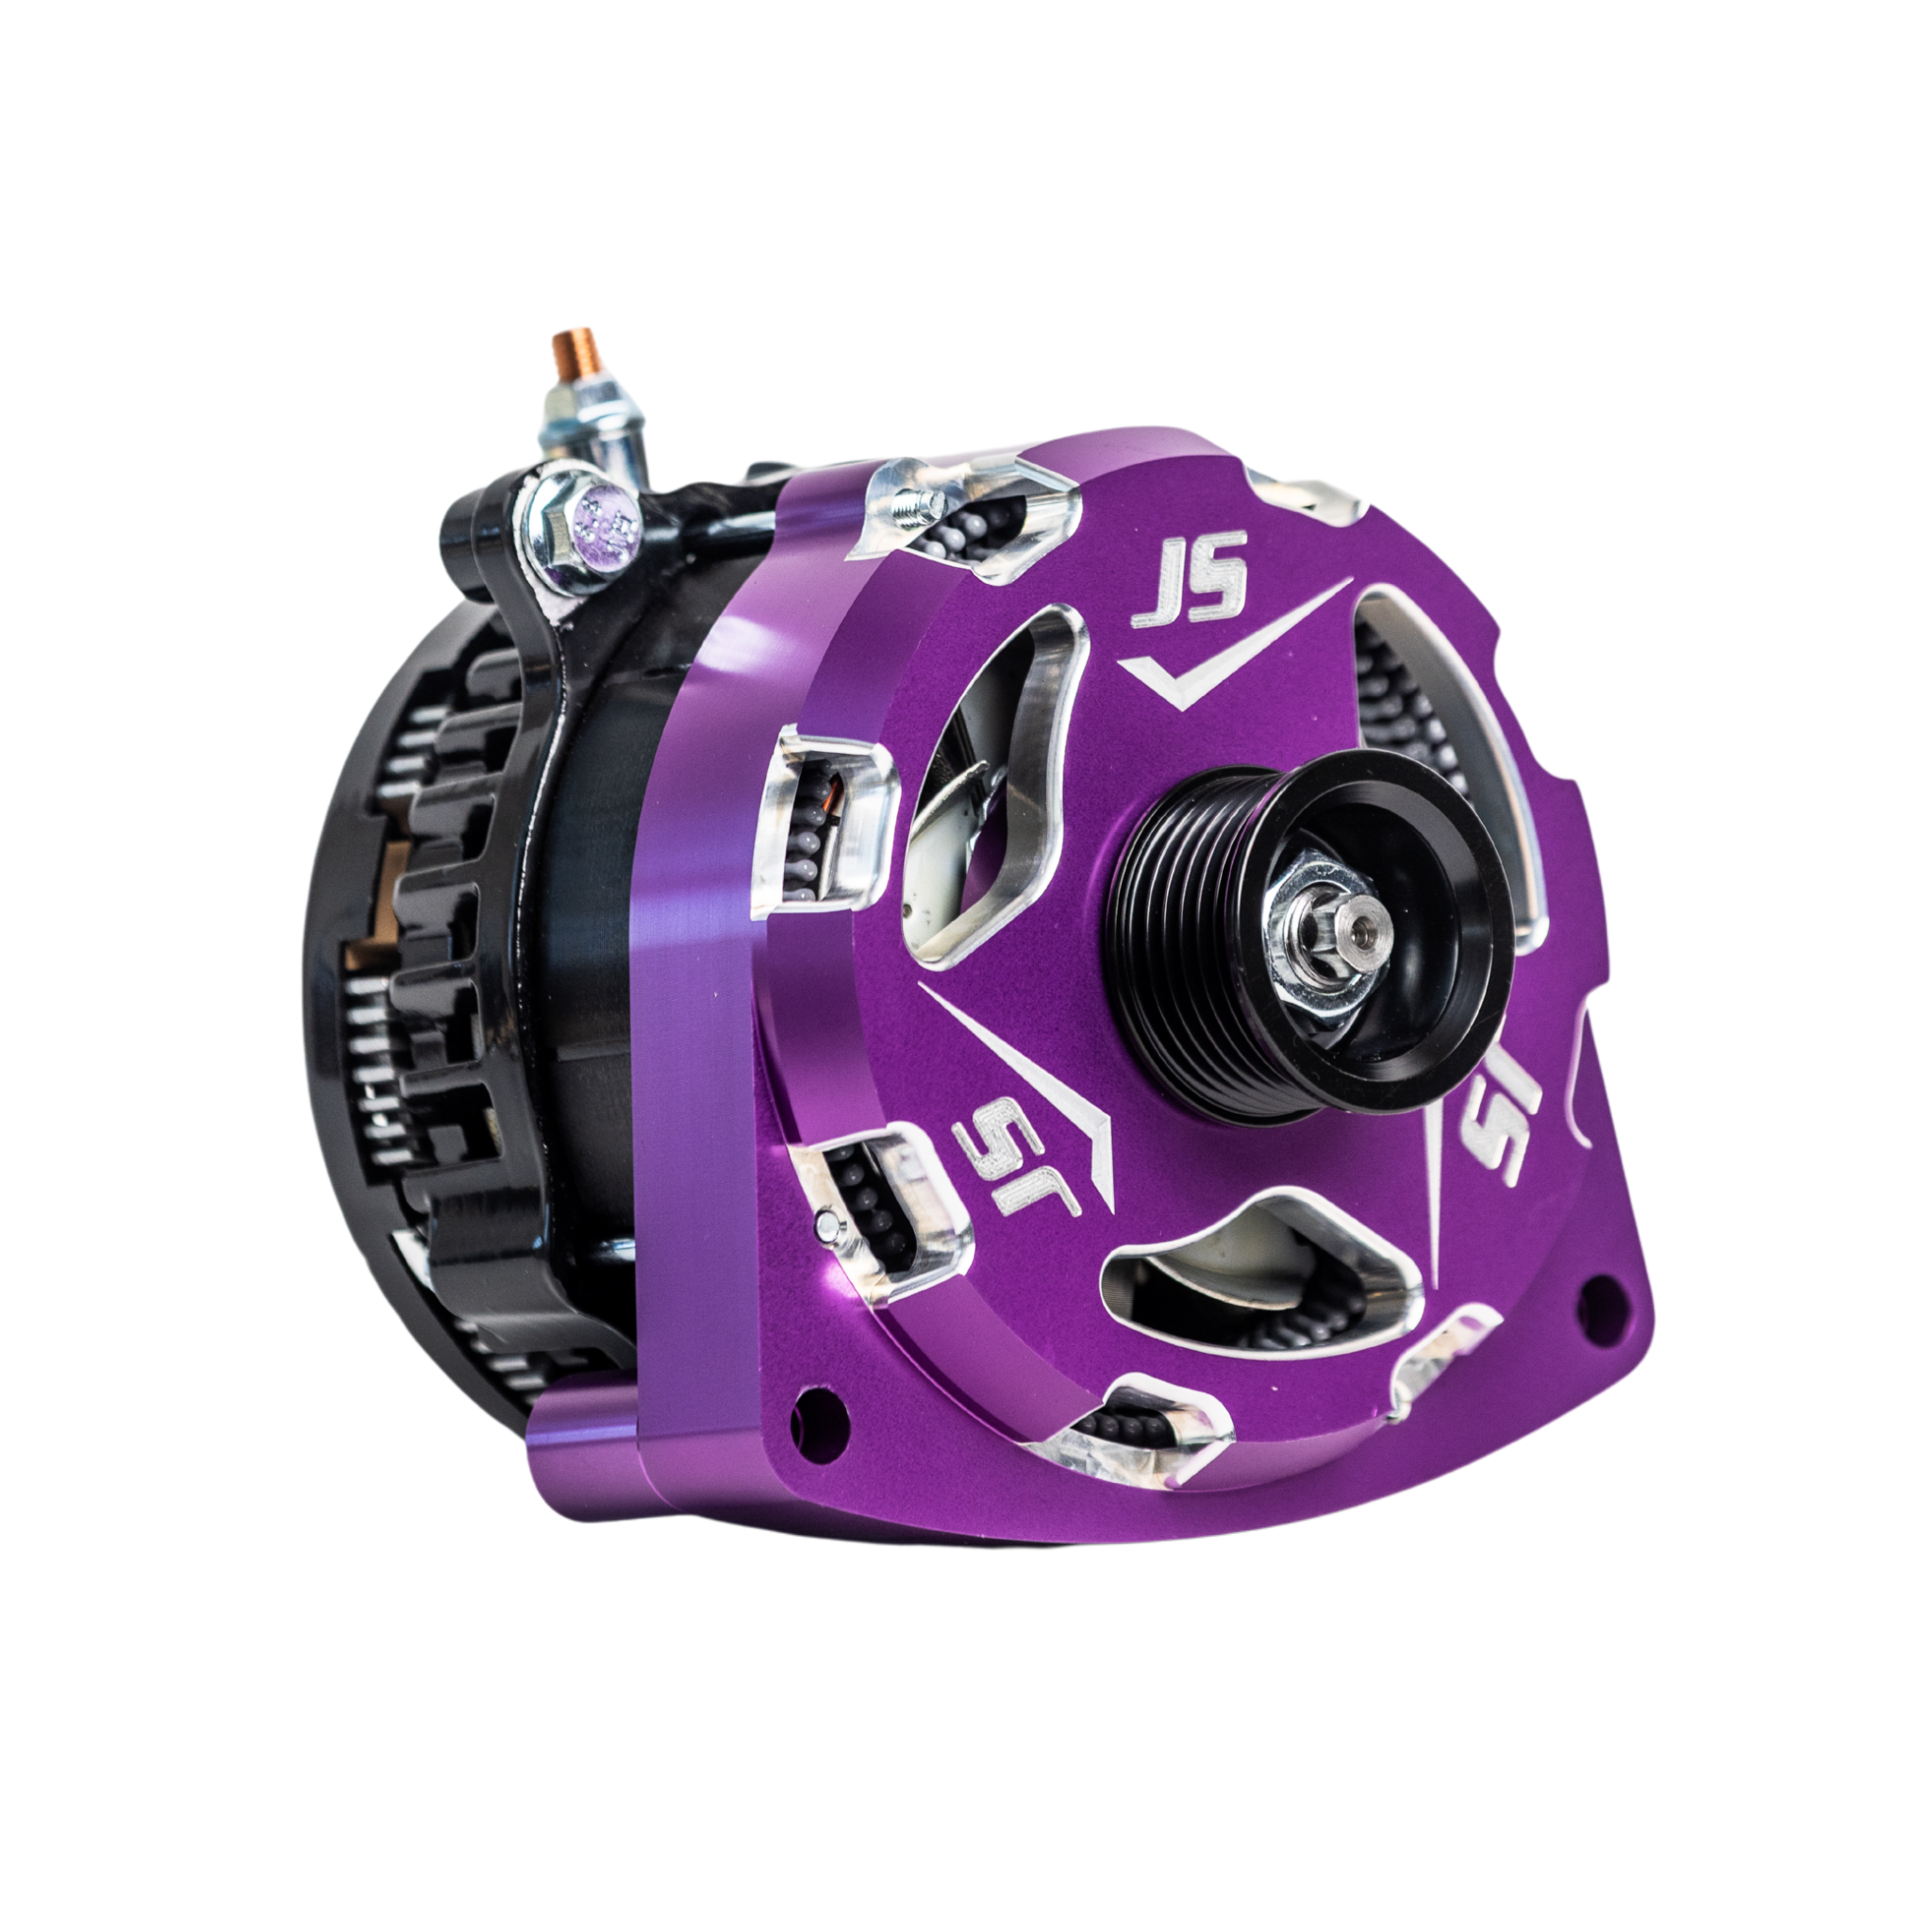
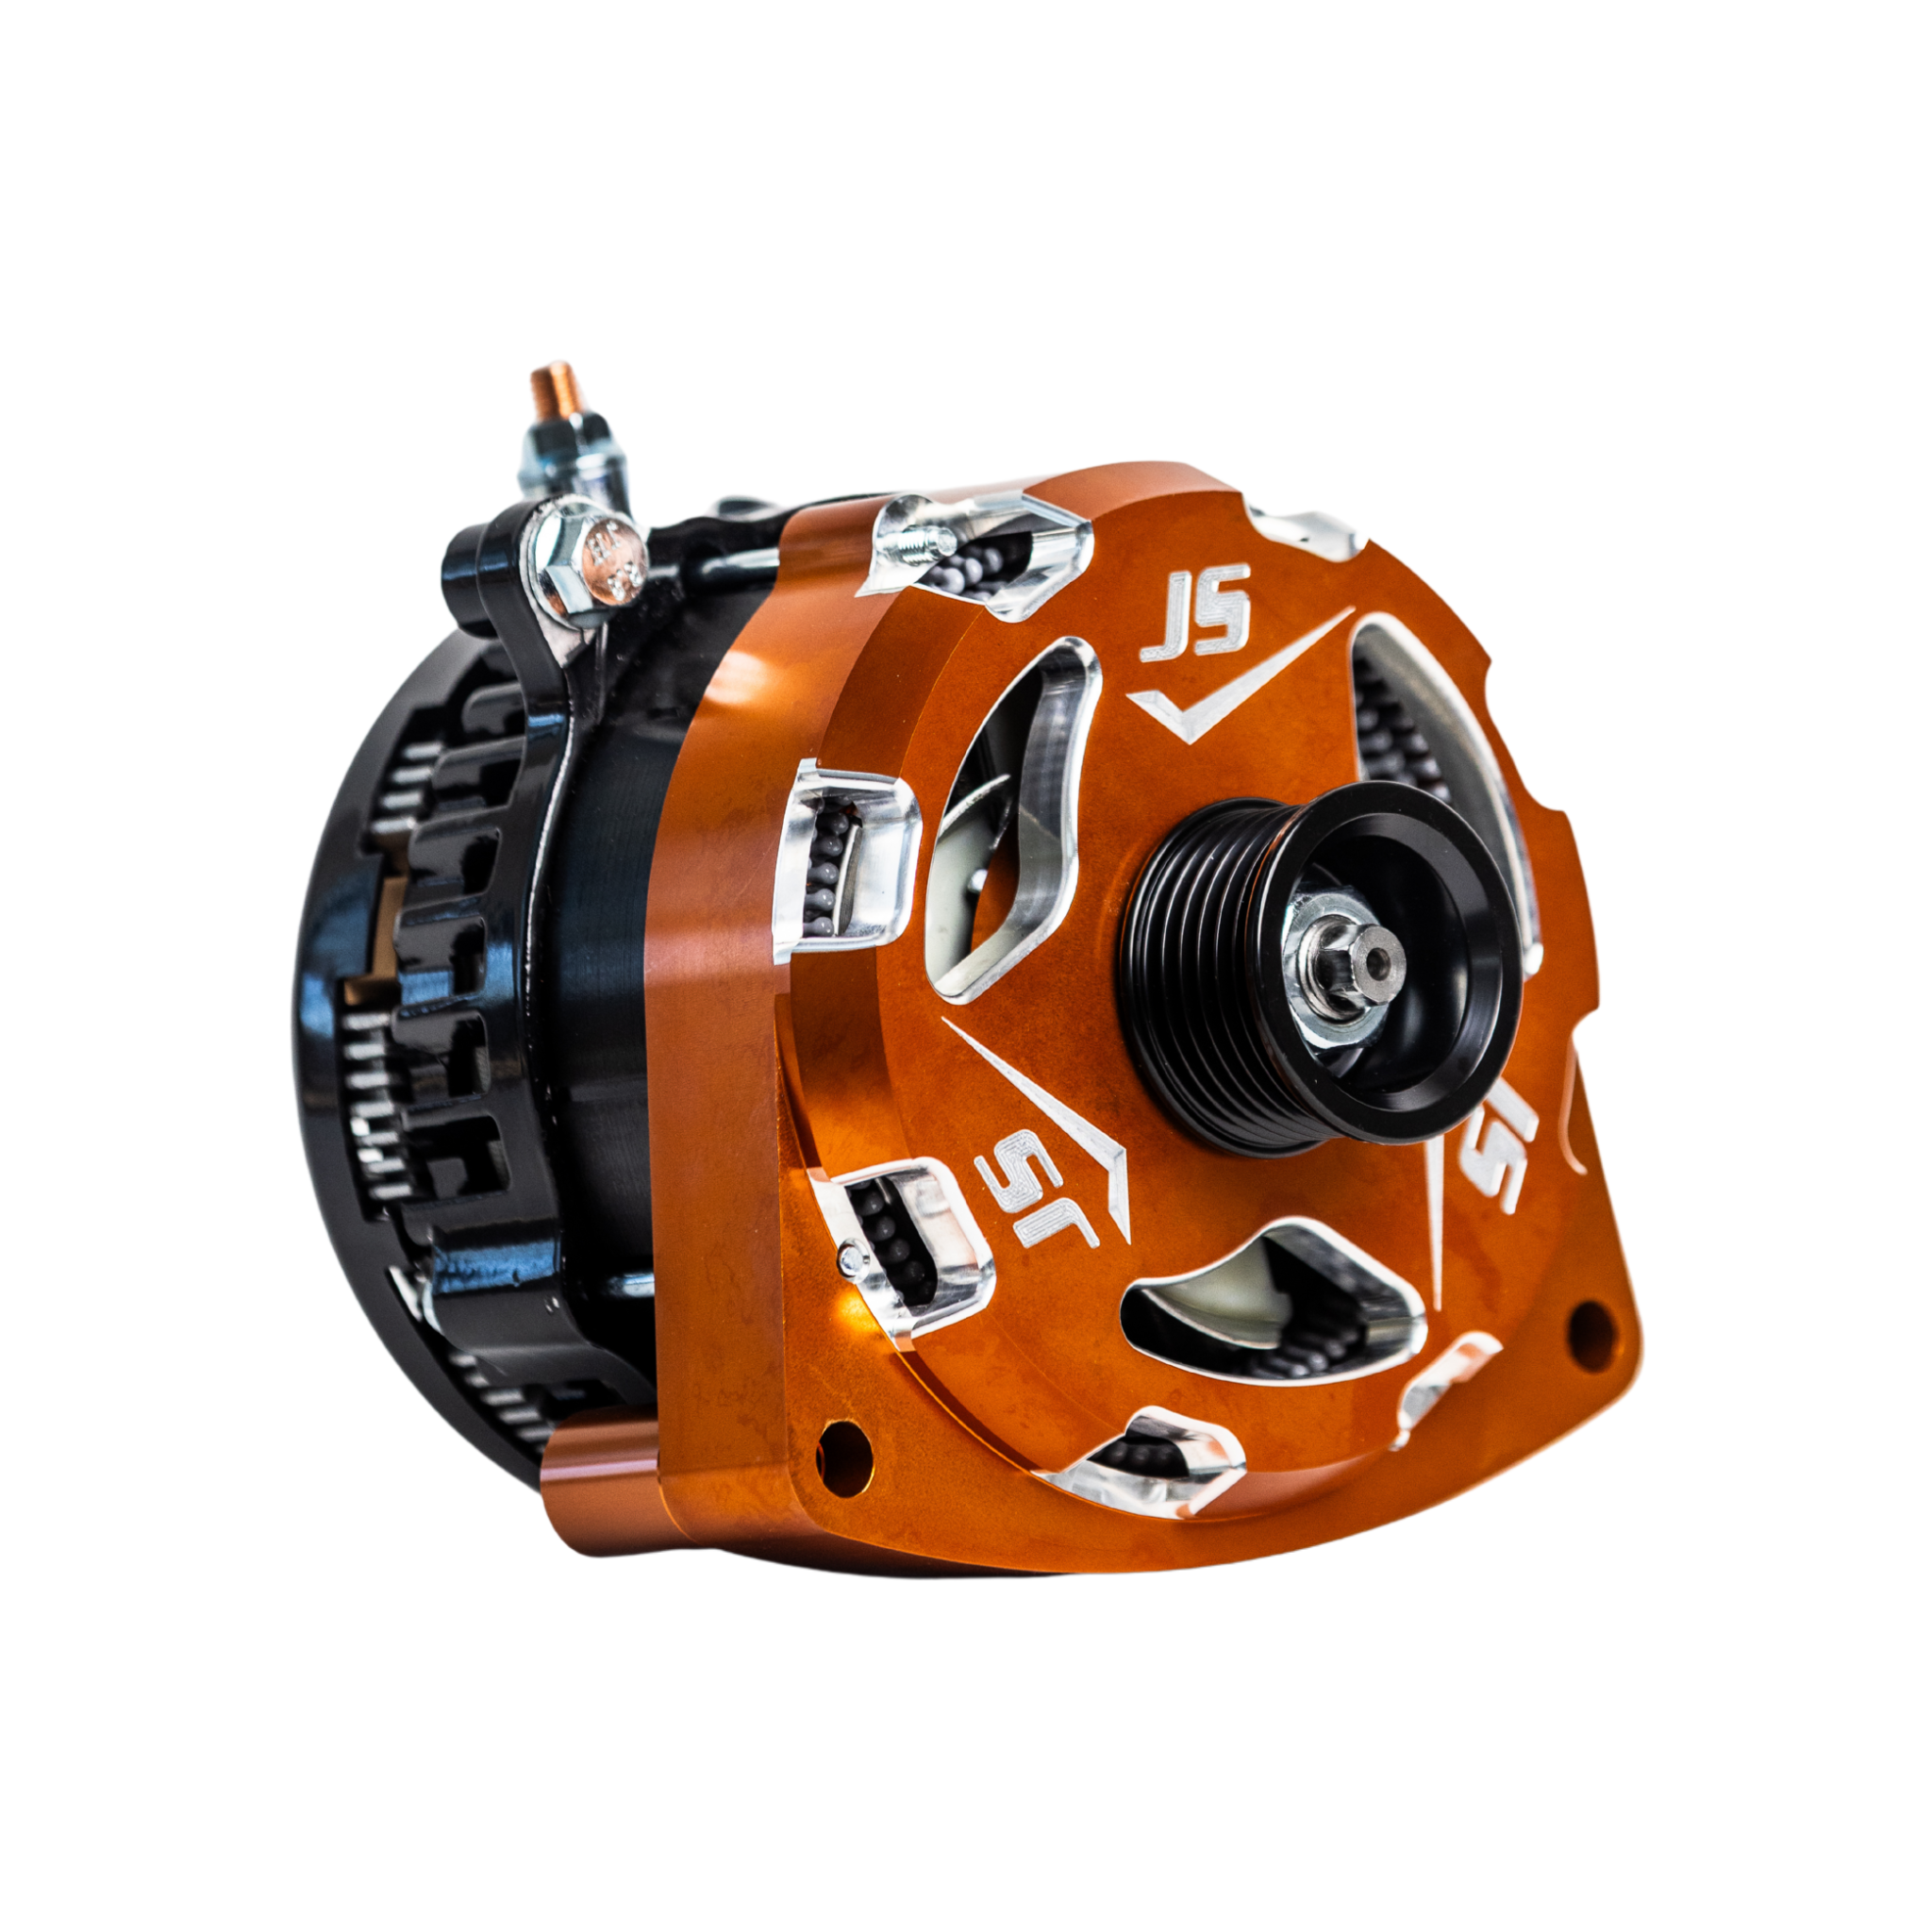
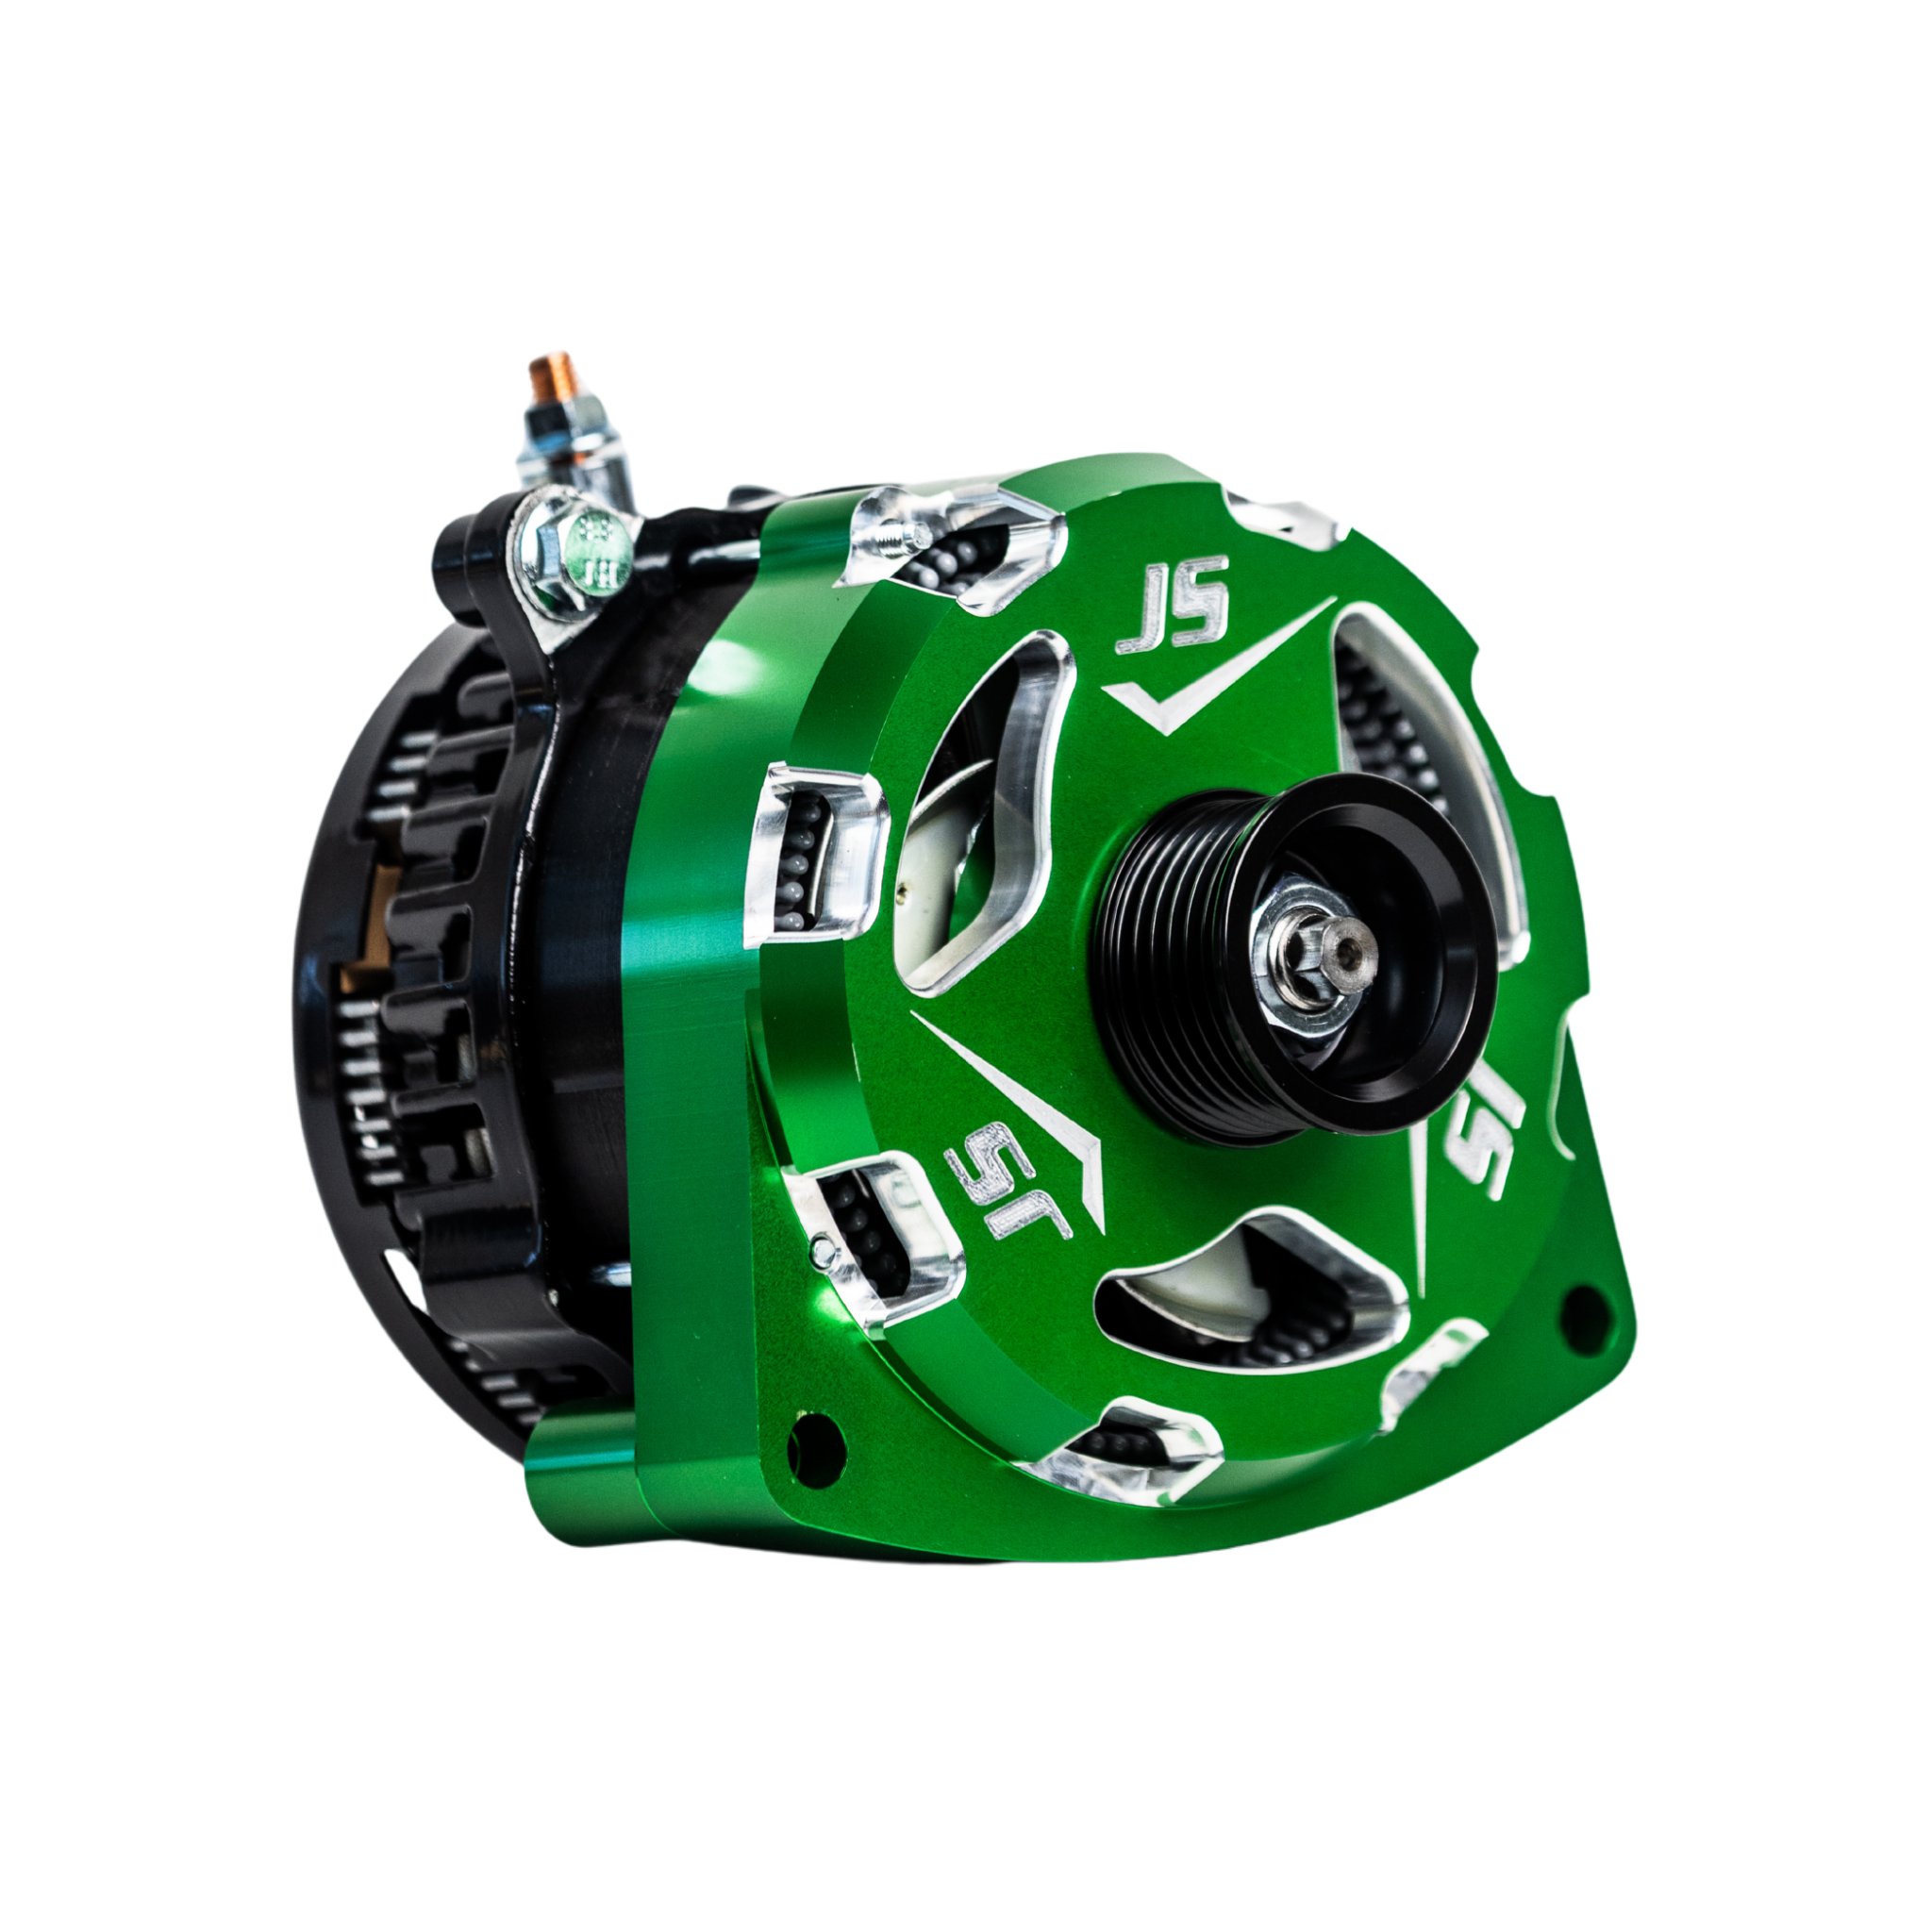
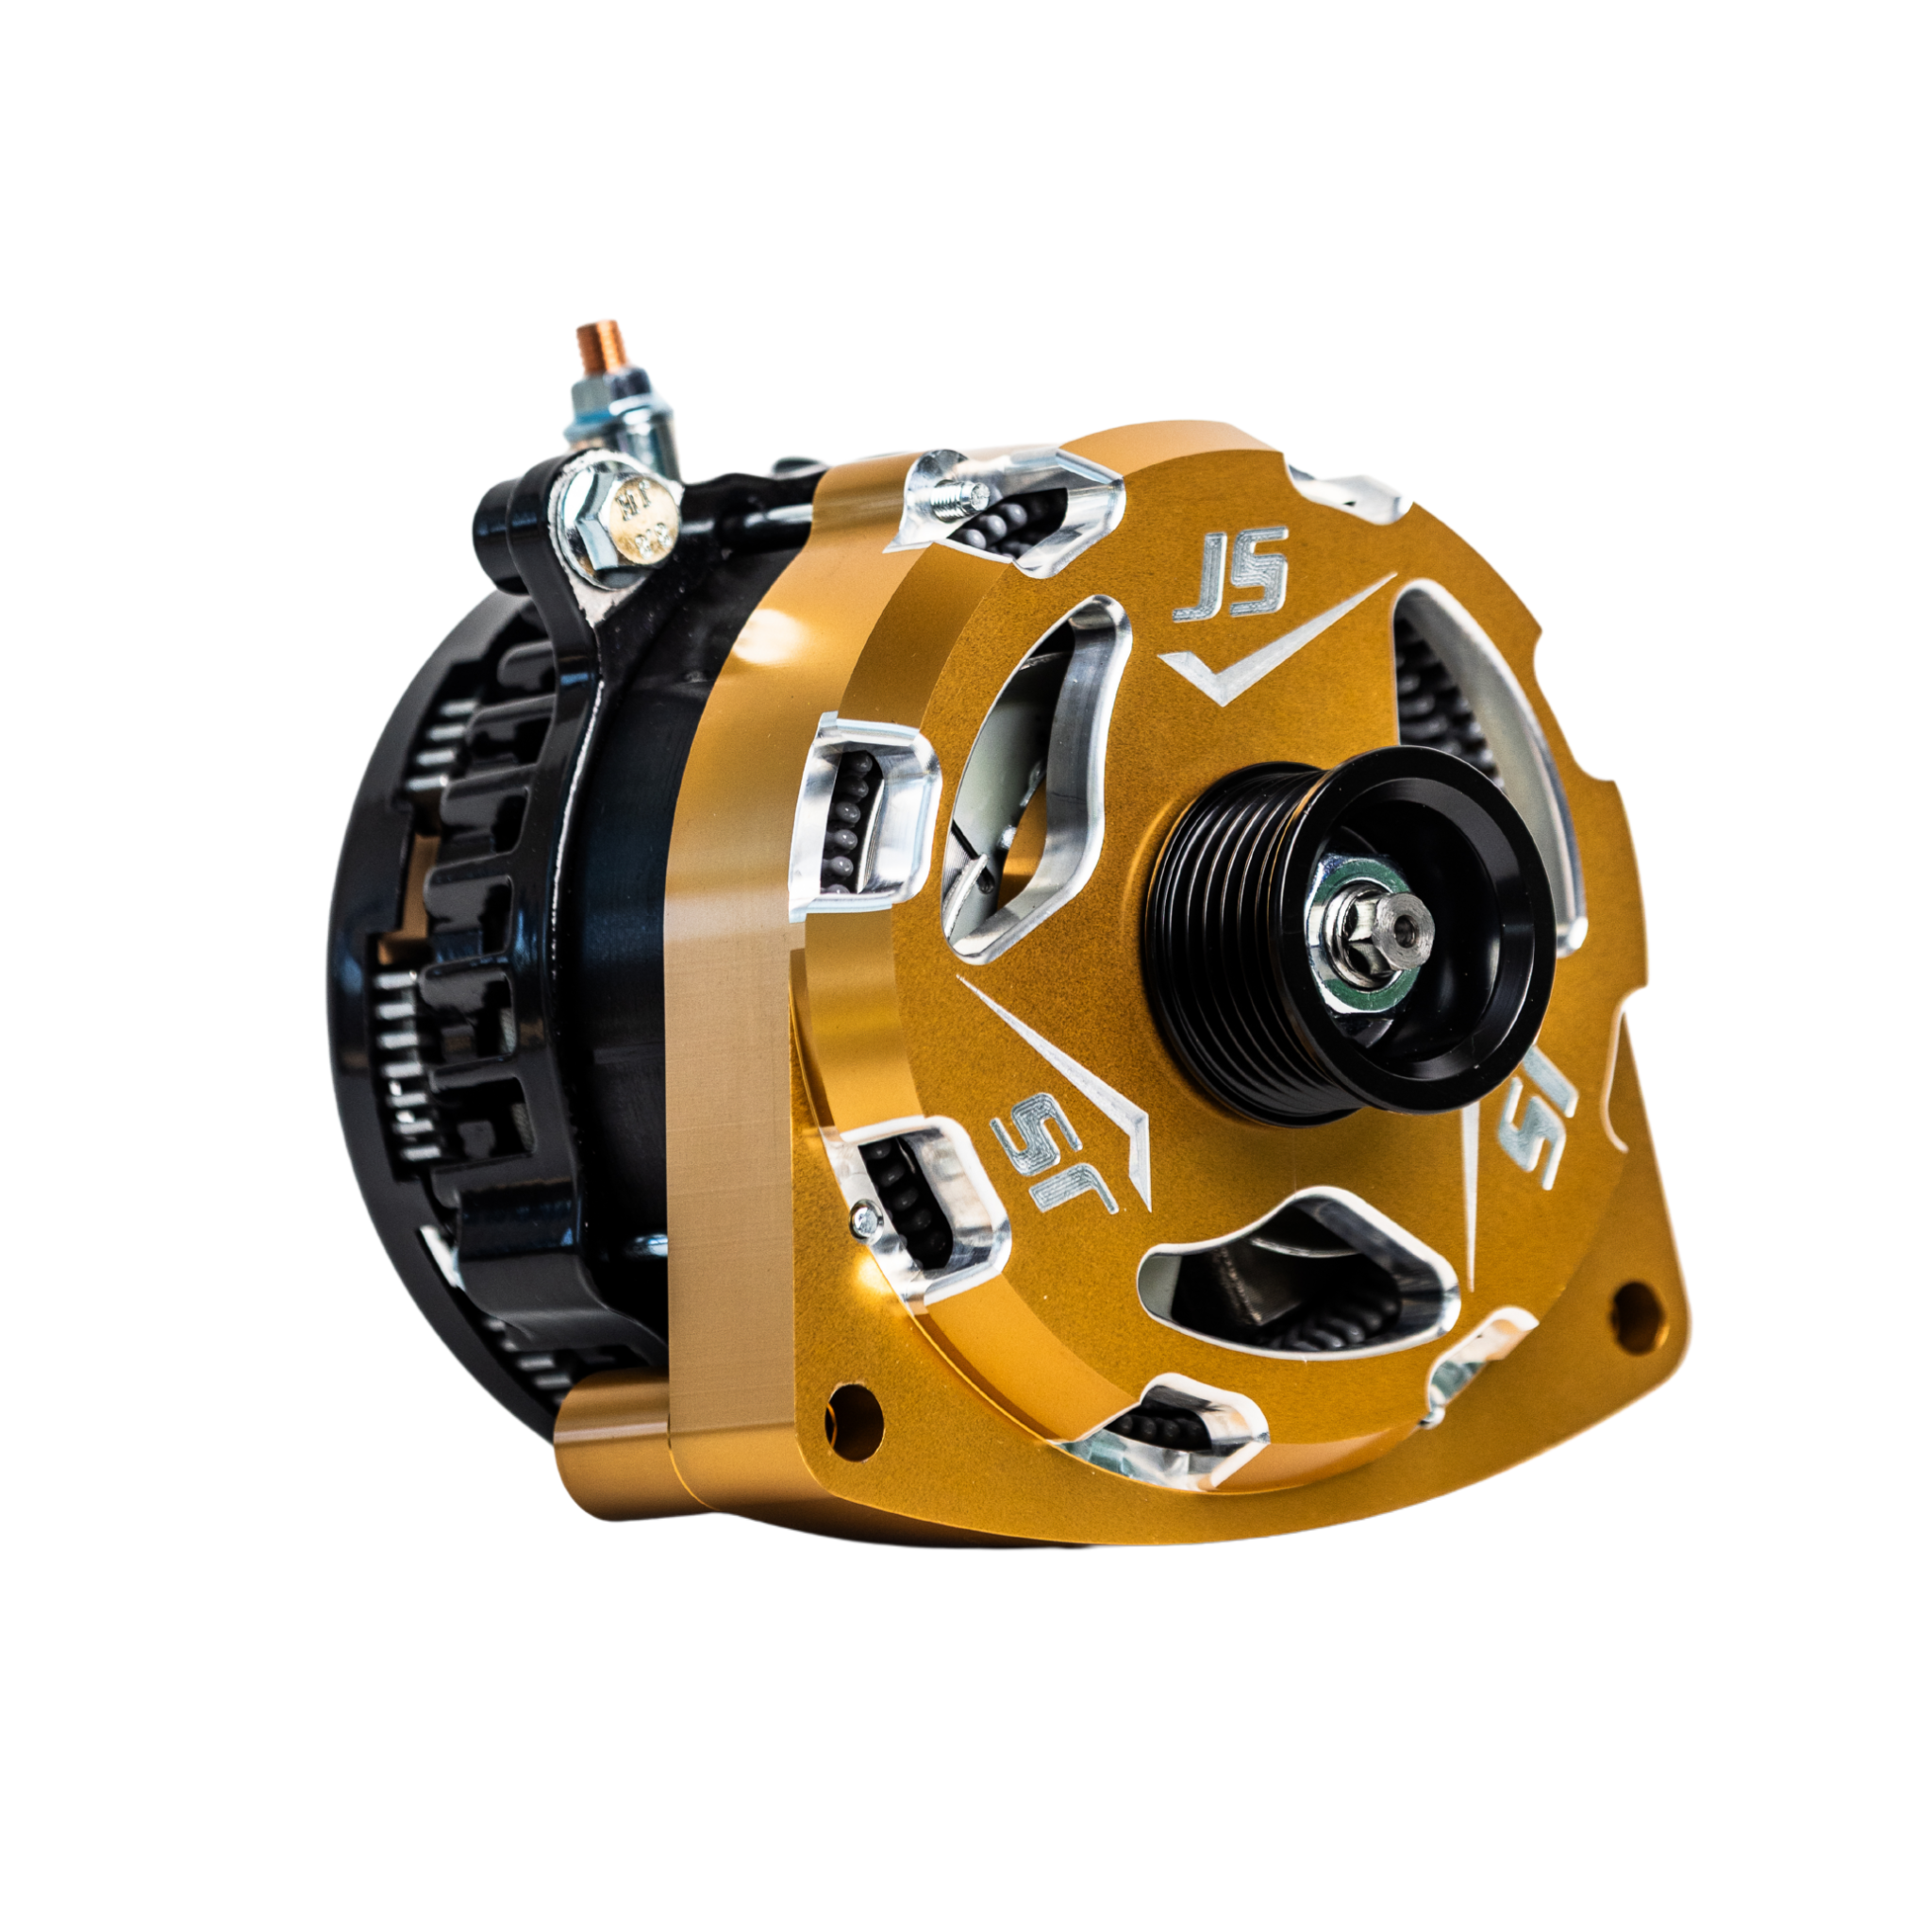

Triple Alternator Bracket Kit – 2000-2013 GM/Chevy Trucks 5.3L, 4.8L, 6.0L, 6.2L V8 (Includes 1 Alternator)

Many in-stock orders ship within 1-2 business days, but timing varies by item. Custom, built-to-order, oversized, special-order, and supplier-direct products may need extra processing time. Free shipping applies to qualifying orders over $99 within the contiguous US. Freight items may require delivery coordination; any shipping exceptions are shown before checkout. Approved returns may be subject to a restocking fee.
Most products are covered by the manufacturer's warranty against defects. Damage from over-powering or improper installation isn't covered — we'll help coordinate any valid claim.
Tell us your vehicle, subwoofers and electrical setup and our team will help you match the right gear. Reach out before you buy.
Installation Instructions
Important: A Big 3 wiring upgrade is required for all high output alternators — factory wiring isn't rated for 250A+ output.
Before you start: Batteries fully charged, vehicle off and engine cool. Wear eye protection and remove loose jewelry.
Remove the old unit: Disconnect the negative battery cable, then the alternator wiring. Note the belt routing, remove the belt, then remove the bracket bolts and the factory alternator.
Install the new alternator: Mount it (factory bolts usually work) — hand-thread first, then torque to spec. Fit a serpentine belt about 0.5–1" shorter unless otherwise specified and confirm it's aligned in all pulley grooves.
Grounding: Clean all contact surfaces to bare metal and apply a corrosion inhibitor. On uni-body vehicles, ground to the thickest sub-frame metal and add ground cables if charging voltage is low. Keep wiring at least 12" from heat sources.
Regulator / plug: Factory plug — snap the harness into the regulator. Pigtail (single-wire) — excite wire (L) to a 7–15V ignition source, sense wire (S) to the alternator positive. Self-exciting (one-wire) — no plug; connect only B+ and ground (a battery light may appear). A dash volt gauge is recommended.
Finish: Complete the Big 3 upgrade, reconnect the negative terminal, start the vehicle, and confirm 13.5–14.8V at the battery.
Big 3 Wiring Installation
The Big 3 upgrade replaces the three main cables with 1/0 100% OFC (oxygen-free copper) wire: (1) alternator positive → battery positive, (2) engine/alternator ground → chassis, and (3) battery negative → chassis. Required for all high output alternators.
Before you start: Charge the batteries, vehicle off and cool, eye protection on. Disconnect the negative battery cable first.
Install: Run the upgraded positive cable from the alternator positive to the battery positive. Add an upgraded ground from the engine/alternator bracket to the frame, and another from the battery negative to the frame. Clean every contact point to bare metal and apply a corrosion inhibitor. Crimp and heat-shrink the lugs, then torque firmly.
Finish: Reconnect the negative terminal last. Two kit types are offered — Universal (most common) and Polaris Slingshot (longer positive cable for trunk-mounted batteries). Check the measurements for your vehicle before buying.

Maximize your vehicle’s electrical power with the JS Alternators Triple Alternator Bracket Bundle, designed for 2000-2013 GM and Chevy trucks with 5.3L, 4.8L, 6.0L, and 6.2L V8 engines. This all-in-one bundle includes a heavy-duty triple alternator bracket and one high-output billet alternators, delivering extreme amperage output for competition car audio, emergency vehicles, off-road rigs, and high-performance electrical systems.
What’s Included in the Bundle:
✔ Triple Alternator Bracket
✔ 1 High Output Billet Alternator
✔ 3 Long Bolts
✔ 2 Semi-Long Bolts
✔ 2 Semi-Short Bolts
✔ 1 Short Bolt
✔ 12 Washers
✔ 2 Nuts
✔ 2 Idler Pulleys (76mm)
✔ Serpentine Belt
You may also like : Triple Alternator Bracket Kit – 2000-2013 GM/Chevy Trucks 5.3L, 4.8L, 6.0L, 6.2L V8 (Includes 2 Alternators)
